
Here at Boot Bomb, we obviously love hiking!
But, we know that packing is usually the hardest part of any trip. It’s easy to get overwhelmed when you walk into the outdoors store and see the thousands of items available for sale.
You’ve probably asked yourself, “Do I really need all this?”
To make things easier, I’ve put together this simple guide on how to pack for a hiking trip. This list will give you all the gear you need to have a great day hike, without weighing down your back (or breaking the bank).
Without further ado, let’s get into it.
Clothes
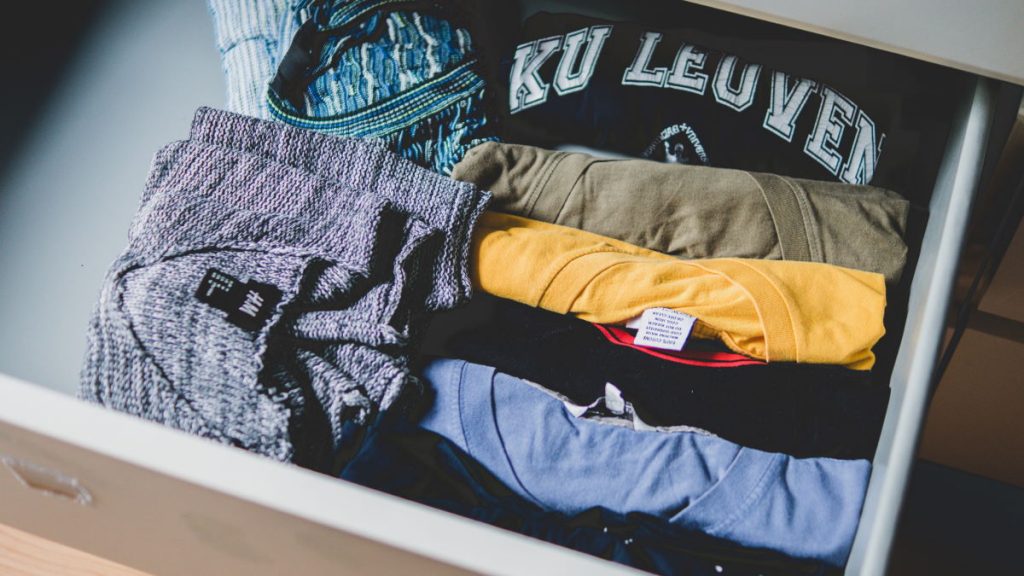
The first thing you’re probably wondering about is what clothes to wear.
For beginners, gym clothes are usually enough. Opt for shorts in the summer, sweatpants in the winter, with an old t-shirt that can take a beating.
Cotton is okay, but synthetic fabrics that wick are usually better. You’ll be getting sweaty, so put aside fashion for a minute to focus on function.
Make sure to choose lighter-colored clothes (white, khaki) over darker ones (black, blue). White reflects the sun off you better and will help keep you fresh in the heat.
No matter where you are, I recommend a lightweight rain jacket. Despite whatever the college-educated meteorologists say, it’s hard to predict when it’s going to start raining. A small waterproof coat will help you get through this without adding much weight.
Also, consider what altitude you’re headed towards. As height increases, the odds of both precipitation and cold weather increase. So, if you’re hiking at high elevations, bring a sweater and rain jacket for sure.
Footwear
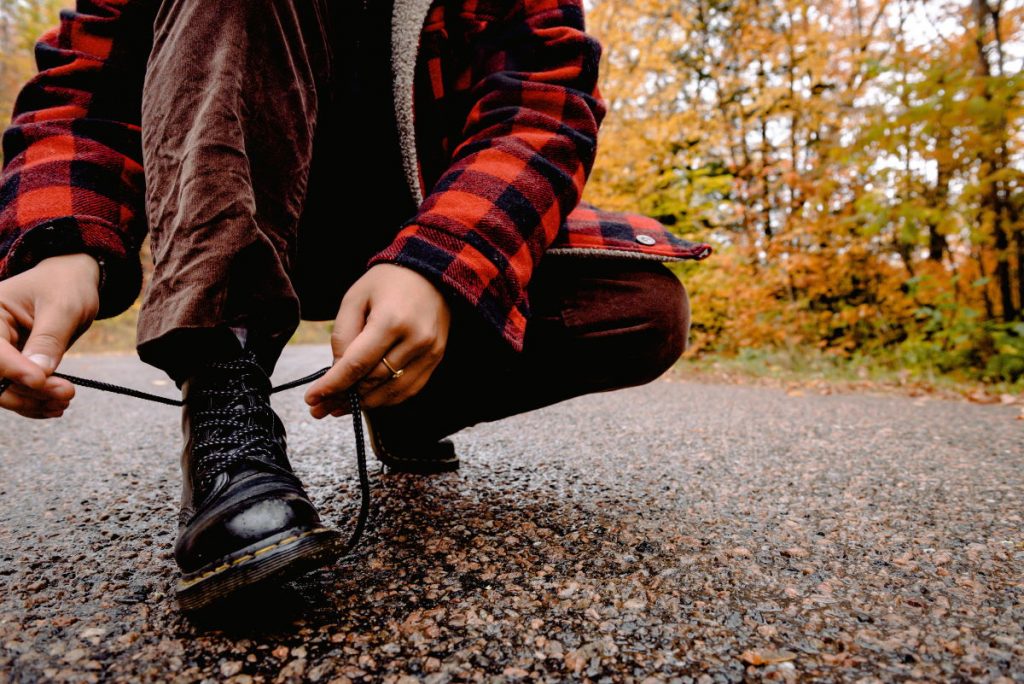
Probably one of the most critical choices to make when preparing for a hike is your footwear. As you know, there are tons of hiking shoes out there on the market.
To make things simple, I’ve narrowed it down to three broad categories of hiking footwear you can choose from. Here they are (and what they’re suitable for):
- Boots – best for wet, snowy, or rough terrains
- Sandals – lightweight and breathable
- Sneakers – multi-purpose and equipped for most activities
The first step is to choose which type of shoe you want. After that, zoom in and decide which shoe you think is best for you. Thankfully, you can find a ton of information on Boot Bomb.
Then, one of the best things you can do is try on the shoes in person. Go to your local outdoors store and see if they feel as good as they look. Don’t feel weird about walking around the store while trying on a pair – no one will judge you!
Hiking Sticks
This might seem like overkill, especially if you’re on the younger side, but hiking sticks can be a lifesaver.
Not only will they help you climb up sharp peaks, but they’ll also assist you coming down rocky slopes. Anyone who’s ever felt on their butt and slid down a mountainside knows what I mean.
On top of that, hiking poles give you added support if you injure yourself on the trail. This might seem like it’s coming out of left field, but you’d be surprised how many times I’ve rolled my ankle or tweaked my knee while hiking. Trekking poles give you added support so you can make it back to base safely.
Even if you think that hiking poles are unnecessary, you can’t argue with the price. Quality hiking poles retail for $20-$40 and can be used for years. That low price point makes it so that hiking poles should be used by everyone.
Compass
This tip might seem a little old-school, but you’d be surprised how useful a compass really is.
When you get lost, one of the most important things to figure out is which direction you’re headed. This can be easily managed when the sun is up, and you can remember that the sun “rises in the east and sets in the west.”
However, what happens when the sun goes down, or it’s dusk, and you can’t see where the sun is? That’s when a compass comes to save the day.
No matter how lost you get, you can probably remember the general direction of where you parked your car. Or, you can look at a map and see which way a road intersects the park. You don’t have to know which exact orientation you’re facing, but even getting your bearings on which cardinal direction you’re looking can go a long way.
Not only are compasses extremely useful, but they’re also affordable. Quality compasses (that’ll last you a lifetime) can be purchased for $20. No excuses!
Map
You’ve got a compass, but how do you find out which way to go? Sure, you might be able to open your iPhone, but what if there’s no cell service? Or your battery died?
That’s when a map comes in handy. Maps don’t require any electricity or cell service and give precise location details no matter where you are.
To effectively use a map, regularly open it and check where you are. If you keep tabs on your coordinates at all times, it’s unlikely you’ll get lost.
There are two places to get maps. The first is at your local outdoors store. REI, Cabela’s, etc. sell local maps that give your area in exquisite detail.
You can also get one at the park. Most parks offer straightforward maps at the park entrance or trailhead. Try to grab a park ranger and ask where to find a map if you can’t find one.
Water
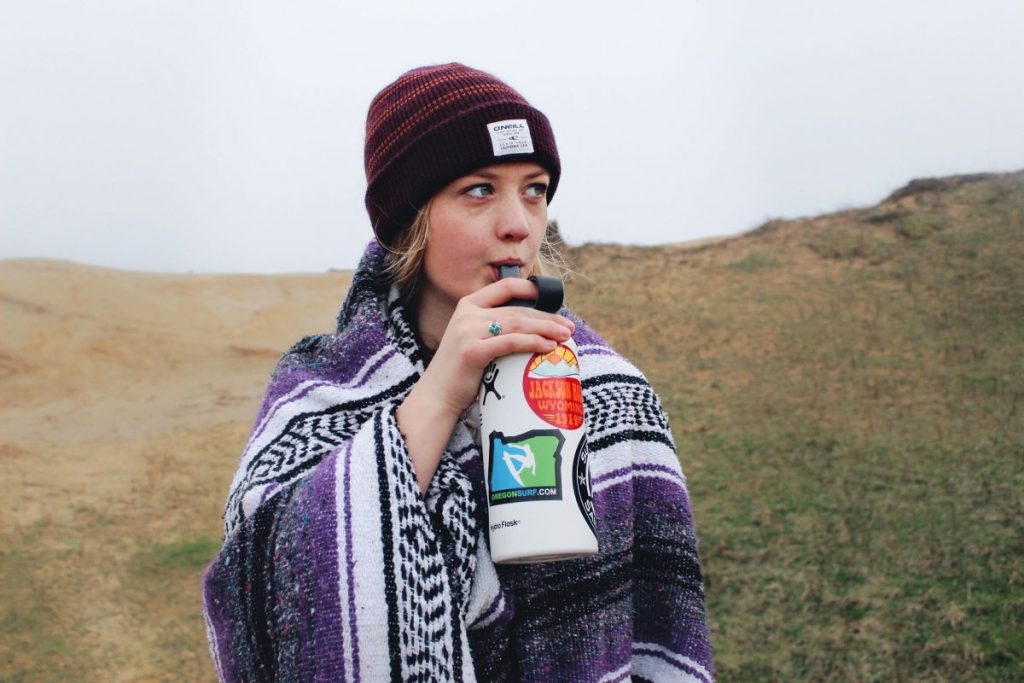
Humans are 60% water, making water is one of the most important substances to pack. In general, bring more than you think you’ll need, especially in the summer.
For the math-friendly folk, a useful rule of thumb is to bring one liter of water for every 2 hours of hiking. Take a look at how long you’ll be hiking, then calculate how much water you need.
In case you don’t know how long your hike is, you can guess how much time you’ll take by multiplying the distance by 2 or 3 (that’s because you’ll walk between 2 to 3 mph). These are back of the envelope calculations, so lean on the conservative side and bring more water.
If you’re going long distances, it might be worthwhile to pick up a portable filter like a LifeStraw. Water filters have gotten much more lightweight and affordable, so these tools won’t break your wallet or back. You never know when you’ll need emergency water.
To store water, use a reusable water bottle or, better yet, a water bladder that fits in your backpack. This makes it easier to drink water while you’re hiking. Water bladders are also convenient to pack thanks to their low profile design.
Snacks
Now for my favorite item to pack…food!
I won’t harp on the importance of sustenance for too long. But, definitely consider what food you bring and how much to bring.
As far as what to bring – pick something nonperishable and tasty that requires no preparation. My favorites include beef jerky, almonds, and granola bars.
To figure out how much to bring – look at the calorie content. If you eat 2,000 calories a day, and you think you’ll be gone half the day…pack at least 1,000 calories.
Of course, it might be worthwhile to pack a little extra. You do burn a ton of calories hiking. You’ll be thankful you brought those extra snacks when you’re tired and hungry.
Emergency Supplies
OK, here’s a little “doom and gloom” for you.
Hiking is fun, yes. But, it can also be dangerous.
There are a million and one worst-case scenarios that could happen in the blink of an eye. You could sprain your ankle, walk off the path, or simply take a wrong turn and end up in the middle of nowhere.
Without sounding like a negative Nancy, an enjoyable day hike can turn for the worst within the blink of an eye.
There are a million different tools or products you could bring to prepare for an emergency. But, you don’t want to be lugging an obnoxiously large backpack with you through the woods. So, here are some emergency supplies you should consider bringing (that won’t weigh you down):
- Knife
- Baby wipes
- Hand sanitizer
- First aid kit
- Emergency bivvy
- Multi-tool
- Matches, lighter
Sun Protection
Even when you’re sheltered by the shade of the woods, the sun is still a mighty foe for hikers and campers.
Sunburn sneaks up on you, especially when you’re in the sun for hours on end.
There are two main ways to protect yourself from the sun.
The most important is the shade. Covering your body is the easiest way to protect against sunscreen. Long pants or shirts will keep your skin supple and prevent you from turning red.
You should always wear a hat to protect your head. A hat with a wrap-around brim will protect your neck, face, and ears, so opt for a big shady hat instead of a baseball camp.
The second tool is a quality sunscreen. Use sunscreen on any area that isn’t covered by clothes. And, choose an SPF that matches your skin tone (paler hikers need more SPF, obviously).
Bring extra sunscreen in your bag and reapply frequently. Despite what the labels say, sunscreen wipes off with sweat and use. Putting on sunscreen when you start the hike might not be enough.
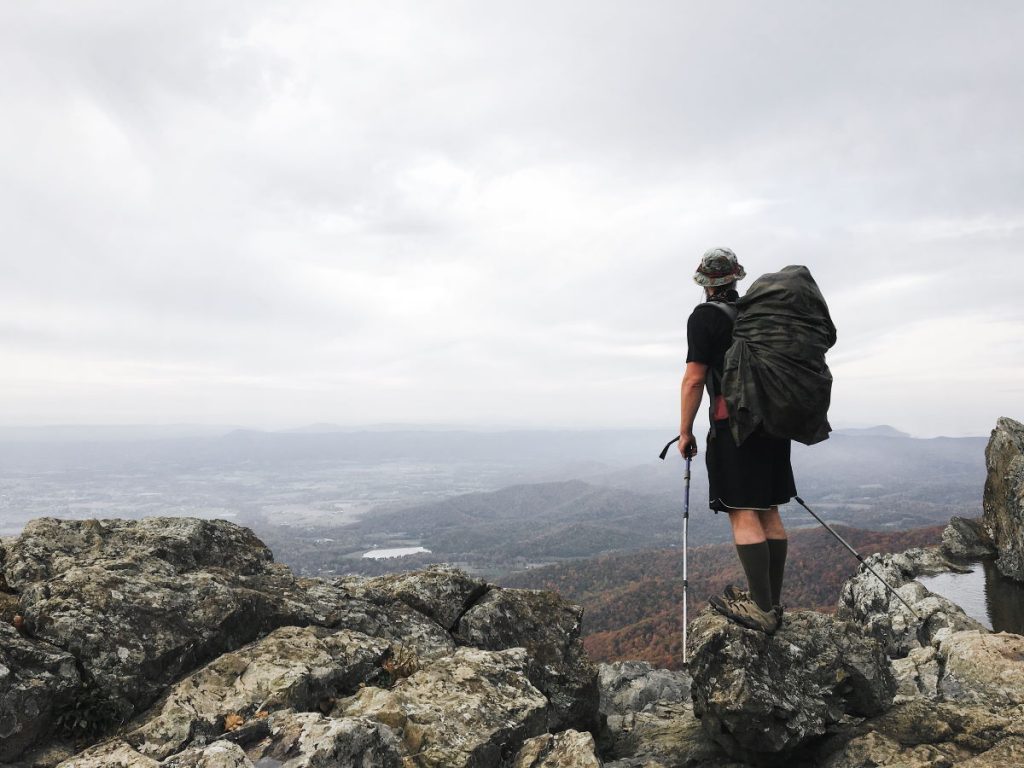
Daypack
Now that you’ve got all your gear together, it’s time to pack it in your bag.
Most people will use whatever backpack they have sitting around the house for hiking. This is an easy option. Still, laptop or commuter backpacks can be a pain on the back and shoulders after extended hiking.
A comfortable alternative is a daypack. Many outdoors companies make small backpacks specifically designed for day hikes that are a lifesaver for quick trips. They’re small enough to be lightweight but large enough to store your gear. On top of that, daypacks are priced affordably and can be used for commuting or day-to-day life.
Packing It All Up
Well, there you have it. That’s all the gear you need to get started on your first hike.
Of course, I might’ve glossed over some more advanced items. If you’re going to be hiking the Appalachian Trail, or staying in the woods for weeks at a time, you’ll definitely need more equipment.
But, for a day hike, this should be more than enough. So, quit thinking about what you should pack, follow this list, and hit the road, Jack!
0 comments